
Painters adelaide painting walls is an easy and rewarding DIY project that can add great character to any room in your home. Before getting started, however, it is essential to know some key information so that your job turns out flawlessly.
Make sure you have all of the supplies for a successful project, such as paint; brushes and rollers for applying it; primer; an extension pole to extend these tools, and can openers/screwdrivers.
1. Clean the Walls
While painting may be exciting, ensuring walls are clean before starting is critical for getting an effective paint job. Dirt prevents new paint from adhering properly and can result in dimpled finish product with bumps and divots.
Dust your walls to remove dust and cobwebs before using a damp cloth to wipe down their surface. If there are any spots, use warm soapy water or vinegar (especially beneficial in removing mildew and odor from bathrooms, kitchens and laundry rooms), while for stubborn grease spots use 1 part water + 2 parts Trisodium Phosphate solution (1 part TSP = two parts water).
If there is excessive mold or mildew on the walls, consider using a mold and mildew remover or another strong cleaner. When working with any form of cleaner, be sure to wear protective eyewear, including gloves and mask. It is wise to cover any furnishings in the room with drop cloths and any electrical outlets with painter’s tape for optimal results.
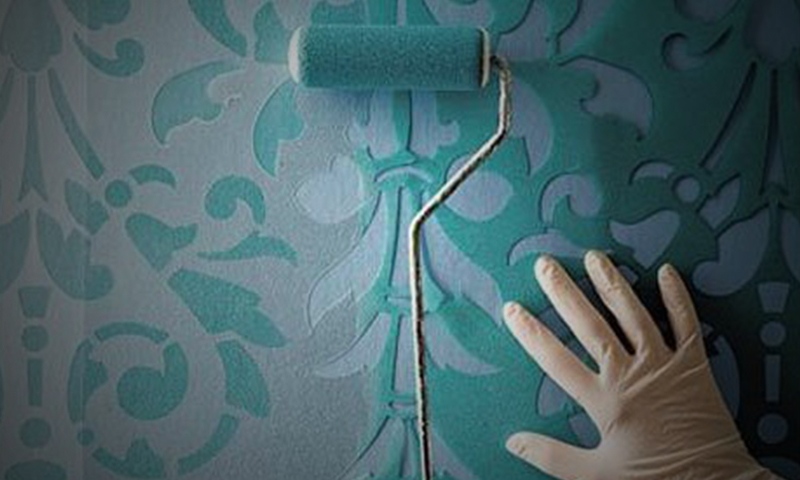
2. Prime the Walls
Professional painter understand that having a clean surface is essential to long-lasting paint jobs, which is why they wash walls using mild detergent mixed with warm water, scrubbing with soft brushes and sponge mop, then waiting until each wall section has dried before priming it.
If walls need priming, it’s crucial that a high-quality bonding primer be used that adheres well with the wall surface. Don’t skimp out if your walls have previously been painted with oil-based or glossy paint as this could result in paint peeling off after applying primer.
Bonding primer can also prevent odors from permeating through the new paint coat. If the previous owners smoked, kept pets or prepared pungent meals that left an unpleasant odor behind, these odors can seep into drywall and other porous materials and infiltrate into your new coat of paint – creating permanent solutions! A quality bonding primer will seal these in, keeping out these odors until their source can be identified and eliminated permanently.
3. Choose Your Paint
Paint can be one of the easiest, most affordable ways to transform a room, yet getting it just right can be challenging. Check out these expert-backed tips on painting like an expert for tips on getting your walls painted like a pro.
Before painting begins, protect surfaces such as floors and furniture with drop cloths or newspaper. Also, use painter’s tape to mask off areas where new colors might overlap on walls and door trims – this step is especially essential if painting over dark colors, where drips and splatters could ruin an otherwise flawless finish.
Sample any paint you’re considering before making your selection; experiment in different rooms under various lighting. Also take into account what finish will best complement decorative features like molding or wainscoting; for instance, scuff-resistant products might help protect bolder hues while glossier options could highlight decorative features like molding.
4. Paint the Walls
Fresh paint on your walls can transform a room and help cover up years of wear-and-tear damage from hanging pictures, furniture, or absorbing dirt and other debris from everyday living. However, successful painting requires more than simply applying color – proper preparation work and repairs must be performed to achieve maximum effectiveness from this endeavor.
As soon as all nails, hooks and screws have been removed, cleaning the surface thoroughly is next. Sand any rough spots before filling any holes or cracks with high quality filler if necessary – Marianne Shillingford of Dulux recommends hollowing out cracks to make sure the filler stays put and doesn’t peel away during painting.
Next, it is necessary to identify whether your walls and trim are oil-based or latex. To do this, wash a small section with warm water and soap – if any oily substances come off during washing then it is oil-based; otherwise it is latex.